This is a short breakdown in plain English. Why photos look blurry after posting, where artifacts come from, and what you can do simply, without complex settings or magic.
I’ll share my personal observations, a couple of stories, and a working checklist. No pomp, just like we’re explaining things to each other in a chat.
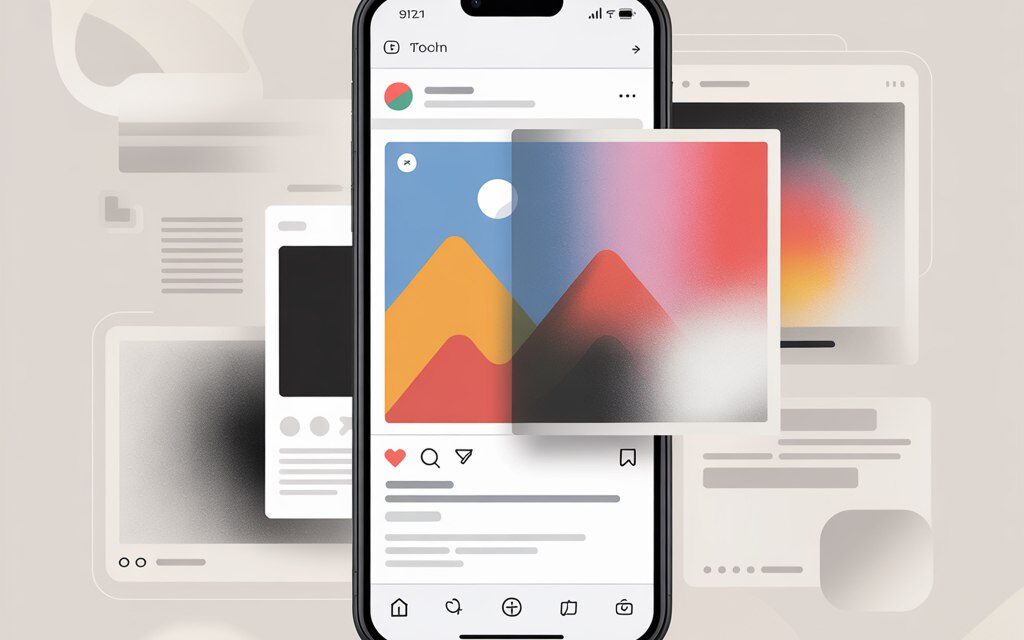
The Short Answer
Instagram compresses and adjusts photos to fit its own dimensions so everything loads quickly and doesn’t eat up data. This is where the loss of sharpness comes from: extra pixels are thrown out, colors are standardized, and a weak internet connection can make the final result even worse.
Usually, it helps to save photos with the right proportions and dimensions, avoid overdoing filters, and upload with a good internet connection. I’ll break it all down below.
Why Instagram Degrades Photo Quality Specifically After Uploading
Many people google: instagram ruins photo quality, why does Instagram ruin photo quality, why did my Instagram post turn out blurry. The reason is usually automatic compression and incorrect source file dimensions. When the file is too large, the app compresses it to its limits. If the proportions don’t match, it gets cropped or resized, and sharpness suffers.
Compression and Dimensions: How It Works in Practice
The feed prefers a width of around 1080 pixels. A portrait photo does better in a 4:5 format, a square in 1:1, and a landscape in roughly 1.91:1. If you upload an image that’s much larger or smaller, Instagram will recalculate it itself and lose details. Plus, it converts the color to sRGB, which can sometimes slightly shift the shades.
A Quick Story About Screenshots
A friend of mine had this happen: he uploaded a screenshot from a messenger where the photo was already compressed. It turned out muddy, even before Instagram. He started uploading the original instead of the screenshot, and the difference was immediately noticeable. Sometimes it’s not Instagram’s fault, but the chain of forwarding.
Formats and Color: HEIC, JPEG, and sRGB
Photos on iPhones are often in HEIC, and Instagram converts them to JPEG. Each conversion is a hit to quality. I’ve noticed that when I save the original as a high-quality JPEG in the sRGB profile, the result in the feed looks more consistent.
What to Do So Your Photos Don’t Get Blurry in the Feed
A common question: how to prevent Instagram from ruining photo quality and how to avoid quality loss on Instagram. The most effective way is to adjust the image to the right size and not overload it with filters. To put the question directly – How to prevent Instagram from ruining photo quality? Prepare your image with a width of 1080 pixels, set the correct proportions beforehand, save it as a JPEG with the sRGB profile, and don’t let the app recalculate the file again. The less the app intervenes, the cleaner the final result.
Dimensions That Usually Work Better
- Portrait in feed: 1080 x 1350 pixels (4:5).
- Square: 1080 x 1080 pixels (1:1).
- Landscape: 1080 x 566-608 pixels (approx. 1.91:1 – 16:9).
- JPEG format, quality around 80-90 when exporting, sRGB color profile.
When I export exactly like this, Instagram barely touches the file.
Edits Without Overdoing It
What usually works is: fewer re-saves, less sharpness and noise, no chains of “took a photo – edited – forwarded – screenshot – collage – uploaded”. It’s better to calmly prepare the source file once and publish it immediately. And avoid super harsh filters – they easily break up skin and sky textures.
Internet and the Upload Moment
A weak network can sometimes serve a more compressed version. I’ve noticed that with decent LTE or Wi-Fi, the final result looks better. If you see “it uploaded but it’s blurry”, give the post a couple of minutes – sometimes the HD version gets pulled through on the server side.
Why Instagram Ruins Photo Quality in Stories and Reels
Another pain point: why does Instagram ruin photo quality in stories, why do photos on Instagram look blurry after editing. Compression is more aggressive in stories because everything needs to load instantly. People also often ask, why does instagram ruin photo quality in stories with music. When you add a music sticker, the system rebuilds the file as media with an audio track, adding another layer of compression. It’s better to upload a vertical 9:16 frame with a width of around 1080 pixels there.
Stories: What to Prepare in Advance
- Size: 1080 x 1920 pixels, 9:16 aspect ratio.
- Minimum fine text and thin lines – they are the first to “go fuzzy”.
- If you’re making collages, save them in good quality, not as a screenshot.
Edit In-App or in Advance
A simple approach usually helps: prepare the photo in advance and only add stickers in stories. If you first edit in Photoshop, then tweak it in another app, then add more in stories – each step adds compression. Personally, I prefer one clean export to 1080 x 1920 and a minimum of filters on top.
A Mini-Story About Low Light
It happened to me once: a concert in the dark, lots of noise, and the story turned into a mess. The conclusion was simple – noise and grain compress poorly. I started slightly reducing noise before publishing and not pushing the exposure too far. It became noticeably cleaner.
Quick Reference Guide on Dimensions and Compression
If you’re thinking about how to get a quality photo on Instagram, it’s handy to keep a mini-table nearby. It saves you from the eternal “why is it so blurry” and helps avoid arguing with algorithms.
| Where | Aspect Ratio | Recommended Size | What Instagram Does If It Doesn’t Match | What I Do |
|---|---|---|---|---|
| Feed, Square | 1:1 | 1080 x 1080 | Resizes to 1080 width, light compression | Export JPEG 85, sRGB |
| Feed, Portrait | 4:5 | 1080 x 1350 | Crops or compresses if wider or narrower | Prepare 4:5 in advance |
| Feed, Landscape | ~1.91:1 | 1080 x 566-608 | Adds padding or resizes | Set exact proportions |
| Stories | 9:16 | 1080 x 1920 | Aggressive compression for fast loading | Minimum small details and text |
| Reels Cover | 4:5 in feed | 1080 x 1350 (visible area centered) | Crops edges for the preview | Place important things in the safe zone |
| Avatar | Circle | Minimum 1080 x 1080 | Reduces heavily to fit a circle | Large object centered |
Common Mistakes That Make Instagram Ruin Photo Quality
If you’re asking why Instagram ruins photo quality, check these small things. They’re simple, but they’re often the ones that break the image.
Generally, when people ask, why does instagram ruin photo and video quality, the answer is almost always the same – automatic compression, size recalculation, and repeated saving of the file before uploading.
Screenshots Instead of the Original
Screenshots are already compressed and often have the wrong color profile. It’s better to get the original or send the file without compression.
Too Many Re-saves
Every time you save a JPEG, it adds artifacts. The shorter the editing chain, the cleaner the final result.
Small Font and Thin Lines
At 1080 pixels, such details quickly “go fuzzy”. If you need text, make it larger and more contrasting.
How to Check Yourself: A Short Pre-Publication Checklist
This list helps answer the question of how to prevent Instagram from ruining photo quality and how to avoid quality loss on Instagram. I use it when I want to upload something “neatly and right the first time”.
- Size fits the purpose: feed 1080 width, stories 1080 x 1920.
- Aspect ratios are set: 1:1, 4:5, 1.91:1, or 9:16.
- Color profile is sRGB, not Display P3.
- Format is JPEG, quality 80-90, no unnecessary re-saves.
- No chains of screenshots or forwards with compression.
- Small text replaced with larger text, important things centered.
- Noise slightly reduced, sharpness not overdone.
- Internet connection is stable, not on the edge.
- Checked the preview: how it looks in the feed and in stories.
- Saved a copy of the original just in case.
Phone Settings That Actually Help
If you feel that instagram is ruining photo quality even with careful preparation, check your basic camera settings. Often, small details matter more than “secret buttons”.
Briefly on How to set high quality in instagram? There’s no direct “HD for photos” button in the app, so the final quality depends on file preparation, a stable internet connection, and having the “upload in high quality” option enabled in your data settings.
iPhone: HEIC, HDR, Live
- You can keep HEIC, but export to JPEG sRGB before publishing.
- Be careful with HDR: it can sometimes cause halos and a “plastic” look. I keep it on auto but check the result.
- Live Photos are better converted manually rather than relying on auto-conversion.
Android: HDR, Sharpness, HEIF
Sometimes you hear the question: Why does Android ruin quality on Instagram? It’s often not the system’s fault, but rather different camera processing algorithms and auto-compression within the phone model – especially when “enhanced sharpness” is on or HDR is unstable.
- HDR in auto mode is fine, but avoid extremes. If you see “overexposed + dark shadows”, try turning it off and taking another shot.
- “Enhanced sharpness” mode can sometimes add unnecessary artifacts. I prefer a softer image and add sharpness during export.
- HEIF is okay, but exporting to JPEG sRGB before uploading often gives a more predictable result.
General Small Tips
- Try not to use digital zoom – it’s better to get closer.
- Shoot with your camera, not inside a third-party messenger app.
- Light is key. Good light reduces noise, which means less compression and blur.
Where to Find Official Recommendations
If you want to rely on primary sources, check here:
- Instagram Help Center – basic tips for photos and videos.
- Meta Business: image size guidelines – about proportions and dimensions for the feed and stories.
Micro-FAQ
Why did my Instagram post turn out blurry?
Most likely, the dimensions didn’t match, or the file was over-compressed by filters. Export it at 1080 width without excessive sharpening, and check your internet connection.
Why do photos on Instagram look blurry after editing?
Too many re-saves in JPEG and aggressive filters add artifacts. One clean export to JPEG sRGB is better.
How can I get a quality photo on Instagram?
Adjust the size and proportions, save as JPEG with 80-90% quality, upload with a stable connection, and don’t use screenshots.
How to avoid quality loss on Instagram?
Don’t make the app recalculate the image. Do it yourself before publishing – it’s usually a smoother process.
Why do stories sometimes look worse?
Compression is stronger there for speed. Use 1080 x 1920, fewer small details, and be careful with text.
Key Takeaways from the Article
Instagram isn’t being spiteful; it’s just optimizing. If you give it an image with the right dimensions and minimal distortion, the result is cleaner. I aim for 1080 width, sRGB profile, one careful export, and a good internet connection – and that usually works.
Feel free to share how it went for you
I’m curious what most often “breaks” quality for you: dimensions, filters, or the network.
Drop a couple of lines – I might add your finding to the checklist.


